Showing posts with label Cookies. Show all posts

Monday, February 27, 2012

My Favorite Chocolate Chip Cookies

Pin It


Ahh - I haven't posted anything in over a week!  How did that happen?  I have been baking, but we have been so busy.  The time just flies by. 

What do I always make time for?  My favorite chocolate chip cookie of course!  Do you have a favorite cookie?   I do and it is chocolate chip.  But not any chocolate chip cookie, it has to be this one.  I have loved this cookie for as long as I can remember.  It is the only chocolate chip cookie my Mom ever made.  I have tried other recipes and they are good but for me not as good as this one!  I always come back to this recipe. 

It was in an old Better Homes and Garden cookbook of my Mom's and that cookbook fell apart so we bought a new one.  You know what?  In the new cookbook they changed the cookie recipe!!  How could they?  The new recipe is not as good as the old.  Lucky for you and me I had written the old one down!

My Favorite Chocolate Chip Cookie (By Better Home and Garden)

- 1/2 cup shortening
- 1/2 cup granulated sugar
- 1/4 cup brown sugar
- 1 egg
- 1 teaspoon vanilla
- 1 cup all purpose flour
- 3/4 teaspoon salt
- 1/2 teaspoon baking soda
- 1 cup chocolate chips (I use semi-sweet)

1.  Preheat oven to 375F.
2.  Cream shortening, granulated sugar, brown sugar, egg and vanilla until light and fluffy.
3.  Combine dry ingredients and add a little at a time to creamed mixture until well blended.
4.  Stir in chocolate chips.
5.  Drop by rounded tablespoons on to baking sheet lined with parchment paper.
6.  Bake for 8-10 minutes.  Remove from baking sheet immediately to cool.

This recipe makes about 3 dozen.

I have more to post and hope to get them out this week!  Have a great week.  Can't believe March is around the corner!!


This post may be shared with: Flour Me With Love - Mix It Up Monday, Alderberry Hill - Make The Scene Monday, Make Ahead Meals for Busy Moms - Melt in Your Mouth Monday, Clairejustineoxox - Creative Mondays, Skip To My Lou - Made by You Monday, Sweetology - Tea Party Tuesday, Crazy for Crust - Crazy Sweet Tuesday, Uncommon - Uncommonly Yours, Mandy's Recipe Box - Totally Tasty Tuesdays, Reason To Skip The Housework - Tuesday Timeout, Inside Bru Crew Life - Trick or Treat Tuesday, Mrs Fox's Sweets - Sweet Party, Made Famous By - Famous Linkz Party, Junk In Their Trunk - Link It Up Wednesday, The Kings Court 4 - What's Cooking Wednesday, Hugs and Cookies XO - Wonka Wednesday, Food Corner - Midweek Fiesta, Something Swanky - Sweet Treat Thursday, These Peas Taste Funny - Link It Up Thursday, Talking Dollars and Cents - Sweet Temptations, Happy Hour Projects - Freestyle Friday, Tidy Mom - I'm Lovin' It Friday, Susie QT Pies - Happy Friday Link Up, Kitchen Fun With My 3 Sons - Kitchen Fun and Crafty Friday Link Party, Dwell On Joy - Dwell On Friday, Toys In The Dryer - Fun Stuff Fridays, Alli-n-Son - Sweet Tooth Friday, Crumbs and Chaos - Seasonal Inspiration, The Country Cook - Weekend Potluck, Mama Mias Heart 2 Heart - Sharing Saturday, Sweet As Sugar Cookies - Sweets for a Saturday, Randee's Organized Chaos - Sleepy Sunday, Country Momma Cooks - Saturday Link & Greet, Well Seasoned Life - Sweet Indulgences Sunday, Bacon Time With The Hungry Hypo - Crafting Cooking From The Heart Contest, Southern Mom Cooks - Valentine Party, Cupcake Apothecary - A Themed Baker's Sunday

Saturday, February 18, 2012

Red Velvet White Chocolate Chip Cookies

Pin It

So, have I  told you that my son doesn't like chocolate?  What you say?  A child of two chocoholics that doesn't like chocolate?  How can that be?  I know.  It drives me crazy too.  Actually, he won't eat anything brown.  No cookies, no cakes or cupcakes.  Nothing, nada, zilch.

So in an effort to entice him to eat a cookie, I made these.  I know - all the parents out there think I am lucky.  Don't worry, he gets his fill of sugar through hard candy.  That he loves!!  And I thought he would love these cookies.  You see, red is his favorite color.  Of course red - that is the color of Lightning McQueen.  Duh!!  And the chips are white so no icky brown factor for him.  I thought it would be a shoe in.  How could he refuse right?  I mean the cookies were screaming at me "eat me, eat me, EAT ME".  He refused.  Another cookie failure in his book. 

But no failure to me or my husband.  We like them.  A lot!  And they are easy to make.  So make them, enjoy.  And ponder life without anything brown.  I think it would really suck!!  If I didn't have chocolate I would go crazy.  FOR REAL!!

Red Velvet White Chocolate Chip Cookies

- 1 box of red velvet cake mix
- 2 eggs
- 1/2 cup oil
- 1 cup white chocolate chips

1.  Preheat oven to 350F.
2.  Mix the cake mix, eggs and oil until well combined.
3.  Stir in white chocolate chips
4.  Drop by large tablespoons onto baking sheets lined with parchment paper.
5.  Bake for 10 to 12 minutes or until done.


This post may be shared with: Flour Me With Love - Mix It Up Monday, Alderberry Hill - Make The Scene Monday, Make Ahead Meals for Busy Moms - Melt in Your Mouth Monday, Clairejustineoxox - Creative Mondays, Skip To My Lou - Made by You Monday, Sweetology - Tea Party Tuesday, Crazy for Crust - Crazy Sweet Tuesday, Uncommon - Uncommonly Yours, Mandy's Recipe Box - Totally Tasty Tuesdays, Reason To Skip The Housework - Tuesday Timeout, Inside Bru Crew Life - Trick or Treat Tuesday, Mrs Fox's Sweets - Sweet Party, Made Famous By - Famous Linkz Party, Junk In Their Trunk - Link It Up Wednesday, The Kings Court 4 - What's Cooking Wednesday, Hugs and Cookies XO - Wonka Wednesday, Food Corner - Midweek Fiesta, Something Swanky - Sweet Treat Thursday, These Peas Taste Funny - Link It Up Thursday, Talking Dollars and Cents - Sweet Temptations, Happy Hour Projects - Freestyle Friday, Tidy Mom - I'm Lovin' It Friday, Susie QT Pies - Happy Friday Link Up, Kitchen Fun With My 3 Sons - Kitchen Fun and Crafty Friday Link Party, Dwell On Joy - Dwell On Friday, Toys In The Dryer - Fun Stuff Fridays, Alli-n-Son - Sweet Tooth Friday, Crumbs and Chaos - Seasonal Inspiration, The Country Cook - Weekend Potluck, Mama Mias Heart 2 Heart - Sharing Saturday, Sweet As Sugar Cookies - Sweets for a Saturday, Randee's Organized Chaos - Sleepy Sunday, Country Momma Cooks - Saturday Link & Greet, Well Seasoned Life - Sweet Indulgences Sunday, Bacon Time With The Hungry Hypo - Crafting Cooking From The Heart Contest, Southern Mom Cooks - Valentine Party, Cupcake Apothecary - A Themed Baker's Sunday

Sunday, December 18, 2011

Chocolate Mint Chip Oat Cookies - Frosting For The Cause

Today I am excited to guest post on the Frosting for the Cause blog, so head on over there to see the entire site and all of the women who are making a difference.!

When I stumbled upon the Frosting For The Cause blog I was inspired!  I love that by baking and sharing we are actually helping raise money and awareness.  I want to thank Paula for this amazing opportunity.  Like most people, I know several people who have been affected by cancer.  However, one holds a special place in my heart, a woman that I never met, my Dad's mom.  Even though I never got to meet her I love and feel deeply connected to her.  It is amazing how love can transcend anything, even not knowing someone.  I feel I do know her because I know my Dad.   She raised my Dad to be one of the best men that I know.  Cancer took her when my Dad was only 21 years old. 

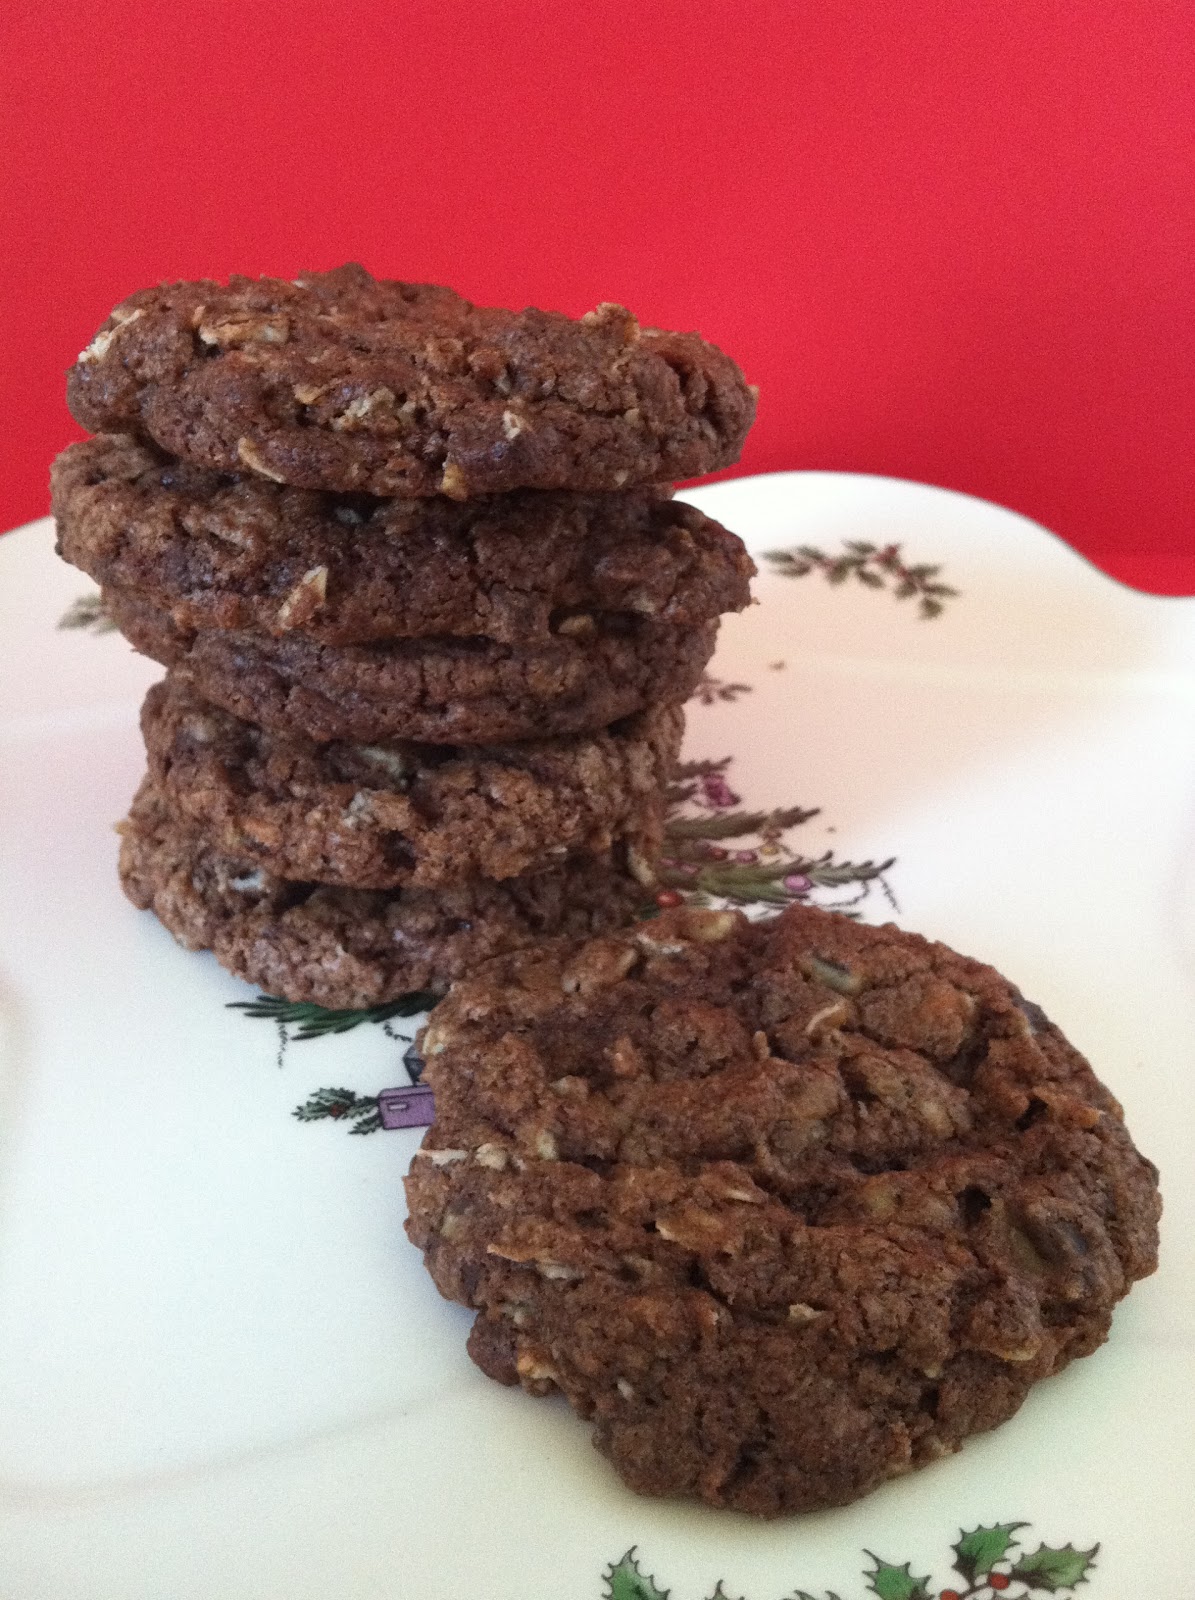
Today I am baking Chocolate Mint Chip Oat Cookies.  I love these cookies because they look a little underrated.  Maybe just some old chocolate cookies, but then you bite into them and taste the chocolate, mint and oat all at the same time.  Yum - I love it and I hope you do too!


Chocolate Mint Chip Oat Cookies (adapted from The Cookie Bible )

1 cup semisweet chocolate chips
1 cup mint chips (I used Andes Creme De Menthe baking chips)
1/2 cup butter, softened
1/2 cup granulated sugar
1 egg
1/2 teaspoon vanilla
3/4 cup all-purpose flour
1 cup uncooked oats
1 teaspoon baking powder
1/4 teaspoon baking soda
1/2 teaspoon salt (optional)

Start by preheating your oven to 375°F.  Line your cookies sheets with parchment paper.  Melt the chocolate chips in your microwave and set aside.  The chocolate can be thick and gooey.


In an electric mixer beat the butter and sugar until light and fluffy.  Then add melted chocolate, egg and vanilla and beat until combined.


Combine remaining dry ingrendients: flour, oats, baking powder, baking soda, and salt.  A little at a time add dry ingredients to the mixture and combine.


Now - stir in the mint chips by hand.  I usually don't beat them in the mixer, sometimes it breaks them down and we want them to be whole.


Drop by rounded tablespoonfuls onto your cookie sheets lined with parchment paper.  Bake 8 to 10 minutes.  Cool for only 1 minute on cookie sheets and them move to wire cooling racks.  Enjoy!


This post may be shared with:
Make Ahead Meals for Busy Moms - Melt in Your Mouth Monday
Sweetology - Tea Party Tuesday
Crazy for Crust - Crazy Sweet Tuesday
Mrs Fox's Sweets - Sweet Party
Junk In Their Trunk - Link It Up Wednesday
Hugs and Cookies XO - Wonka Wednesday
Happy Hour Projects - Freestyle Friday
Toys In The Dryer - Fun Stuff Fridays

Wednesday, November 16, 2011

Fall Cookies


I have really been wanting to try decorating cookies with royal icing for a long time.  I have seen so many absolutely beautiful cookies - works of art, that I probably couldn't eat and I wanted part of it.  So I started off - somewhat optomistic.  How hard could it be right?  Well the process was harder than I thought and I had to keep reminding myself of one of my favorite quotes:

 "If you're not failing, you're not trying hard enough." 

Not sure who said it, but I love it.  So I kept repeating that qoute in my head and referencing the amazing blogs that give instructions on how to decorate with royal icing.

So much to tell you...............

The Cookies.  I used a sugar cookie recipe I found on Sweetopia's blog.  I made the dough, refrigerated it and then got it out of the fridge to cut my shapes.  The dough warms up very quickly and becomes very sticky.  So sticky that I couldn't work with it and had to put it back into the fridge to try again later.  I didn't like this - it is not what I am used to.  The dough I grew up using wasn't sticky.  But I had my dough so after many trips to the fridge and back my cookies were done.  The cookies tasted excellent and I think with more time this dough could have worked better, but next time I might try a different recipe.

The Icing.  I used a royal icing recipe I found on The Sweet Adventures of Sugarbelle's blog.  I liked the recipe.  Easy to make, thin out and color.  I used disposable decorating bags and closed them with bands at the top.   I had a wet paper towel at the bottom of a glass I was keeping the decorating bag in to help the icing not dry out.  But I did run to the store and buy caps to cover the decorating tip to keep the icing from drying out.  It was easier for me than using the glass.


I outlined my cookies first.  I used a number 2 tip and then let the icing set for at least 15 minutes.  Then I used the same tip to flood my cookies or fill the outline with icing.  I liked using the same tip for both because it is easy!

I wanted the leaves to have more of a fall look so as soon as I flooded them with icing I put brown icing on top of the red or orange.  Then I used a toothpick to drag lines thru the icing to give it more of a fall look.  These cookies were inspired by Lizy B's Fall Cookies.  I loved the look of hers, although she used two shades of brown I only used one.  I was trying to keep it relatively uncomplicated for myself!


I like my final results although I am not sure they are "artwork"!  I did pick up some important tips to remember for next time - which for me will probably be Christmas cookies!

Tips:

1.  Buy multiple tips so you don't have to keep washing them when you want to change colors.  I bought three number 2 tips!
2.  The tip closers are a life saver because you don't have to keep the wet paper towel at the bottom of your glass.
3.  If you are just starting to decorate cookies with royal icing like me, start with only a few shapes of cookie and only a few colors of icing.  It gets crazy quickly.  I had also done moose and truck cookies.  But those didn't turn out so great! 

Hope you enjoy the cookies!!  Most importantly they were yummy!!


Shared with: