Sunday, December 4, 2011

Candy Cane Kiss Brownie Bites


When I saw the Picky Palate Blog I was in love!  Jenny has a lot of amazing recipes.  I didn't find her blog on my own my friend, Amy, led me to it.  She wanted me to try Jenny's Festive Candy Cane Kiss Centered Brownie Bites.  They looked so good - they had to be difficult to make right?


Nope - not too hard!  I mixed up my favorite brownie mix according to the box instructions.  I greased my mini-muffin pan thoroughly.  Then I used a scoop to fill the pan about 3/4 full with brownie batter.  The brownies I used are really yummy - but lots of chocolate chunks.  Not ideal for this recipe.  I think it would be even easier if I used a smooth brownie mix which I will do next time.  And there will be a next time soon!

Then I inserted a Candy Cane Hershey Kiss into the brownie batter of each muffin tin.  This is where the chunks made it a little difficult.  See how I couldn't always get the kisses in straight and even?  But I forged on! 


I baked them in the oven at 350 degrees for 20 minutes and let them cool completely.  I was worried because the kisses didn't go in as evenly as I hoped.  When they were done baking you could see some of the kisses poking out of the tops.


No worries though!  They are topped with a simple frosting.  And the frosting took care of my little eye sore!!  The frosting is just melted chocolate chips and heavy cream.  I used 1 Cup chocolate chips, melted them, added 4 Tablespoons of heavy cream, mixed together and then back in the microwave for 10 seconds - mix again.  I doubled the frosting recipe because we love frosting here but also because originally I only made one batch of frosting and it was not enough.  I got 40 brownie bites and that requires a lot of frosting!!  I just dipped the top of the brownie bites in the frosting.  Then as the Picky Palate suggested I crushed 3 candy canes and sprinkled them on top. You want the candy cane to be in small pieces, not dust but small bite size pieces.  I put mine in a ziploc bag and used our potato masher to smash them up (only the best baking tools are used in this kitchen!)  They taste so good.  You have to try it!


Shared With:

Crazy for Crust - Crazy Sweet Tuesday
Hugs and Cookies XO - Wonka Wednesday
Mrs Fox's Sweets - Sweet Party
Junk In Their Trunk - Link It Up Wednesday
Happy Hour Projects - Freestyle Friday
Toys In The Dryer - Fun Stuff Fridays


Saturday, December 3, 2011

Lemon Tool Birthday Cake

My husband, Rob's, birthday was November 27th.  I wanted to make him a really special cake.  Unlike me his favorite thing is not chocolate (hard to believe we ended up together!)  He does like chocolate but not his favorite.  When I asked him what flavor he wanted for his birthday cake he said lemon cake and lemon frosting.  Now I like lemon, but I wanted a cake that everyone could enjoy (like me and my chocoholic father!).  So we settled on lemon cake with vanilla buttercream frosting.  I didn't want to cover the cake in fondant because that really isn't his favorite.  So I frosted it in buttercream (recipe is below), smoothed the buttercream and did the border and decorations in fondant.  I honestly think that using fondant to cover a cake is easier than smoothing buttercream.  It is so hard to get it to look smooth and perfect.  Something I definately need a lot more practice at!

I searched on Cake Central for a lemon cake recipe.  I found one by TasteandSeeCakesAZ (modified recipe below).  I baked the cake and leveled it.  We tasted the cake that we had to trim off and it was excellent.  So I frosted it with buttercream.  I rolled out a yellow piece of fondant and cut it into a 1"thick strip.  I then used my black edible marker from Americolor to draw on the tape measure. 


I also have a tool candy mold so I colored fondant and pushed it into the mold to make tools for the top of the cake.  Only problem I had is that I had to make and eat the cake in one day.  The fondant tools could have really used more time to dry out and harden. 


I have also heard that gumpaste would be good for this type of decoration.  But I don't know anything about that yet.  I need to add it to my list of future experiments.  Other problem with doing the cake in one day is that I had to take the pictures at night when it was finished and with no natural light.  So bear with me :)

The cake came out ok and Rob loved the lemon flavor.  Very suprisingly so did my Dad!!!   I really wanted this cake to be spectacular since it was for Rob's birthday.  At first it was going to be a tool box cake, then a cake in the shape of a drill.  I really just ran out of time.  It was so hectic here.  I did learn a very important lesson though and that was to leave myself enough time and to plan out your cake.  Believe me, having a plan is essential and will save you a lot of stress!


Buttercream

2 sticks (1 Cup) plus 4 tablespoons butter, softened.  I use unsalted butter.
4 cups powdered sugar
2 teaspoons vanilla extract
4 teaspoons hot water

-Beat butter and sugar with an electric mixer until smooth.
-Add vanilla and hot water and beat again until smooth.

Makes enough to cover 24 cupcakes or one cake.

Lemon Cake

1 1/2 cup sugar
1 stick (1/2 cup) butter
1 box (3.4 oz) instant lemon pudding
1 teaspoon lemon extract
2 teaspoons vanilla extract
1 cup sour cream (8 oz)
zest of 1 lemon
4 eggs
2 cups all purpose flour
2 teaspoons baking powder
1/4 teaspoon salt (optional)
3/4 cup whole milk

-Cream butter and sugar in electric mixer on medium high until smooth.
-Add pudding, lemon and vanilla extracts, lemon zest and sour cream and combine.
-Beat in eggs one at a time.
-In a separate bowl combine remaining dry ingredients.
-Alternate adding dry ingredients and milk a little at a time until all is combined.
-Bake in greased cake pan at 350 degrees until done, about 30 minutes.
-Cool in pan for 10 minutes.  Finish cooling on drying rack.  Frost when completely cool.

Wednesday, November 30, 2011

Pumpkin Chocolate Chip Cookie Pie

Every year I make pumpkin pie for Thanksgiving and Christmas.  I do love pumpkin pie!  But this year I also wanted to make something else festive.  Especially because I am supposed to be experimenting!  So for Thanksgiving I made the traditional pumpkin pie but I also made a pumpkin chocolate chip cookie pie.  I had seen the recipe on the How Sweet It Is blog and said - Oh Yeah!!  How can anything with chocolate chips be bad!  It did not disappoint.  It is made with 1/3 cup pumpkin puree and pumpkin pie spice.  I used homemade pumpkin pie spice with spices I already had in my pantry.  Next time I think I will use a little less pumpkin pie spice because it was a little sharp but still yummy!!  What a nice alternative to the usual pumpkin pie (still a favorite though!)


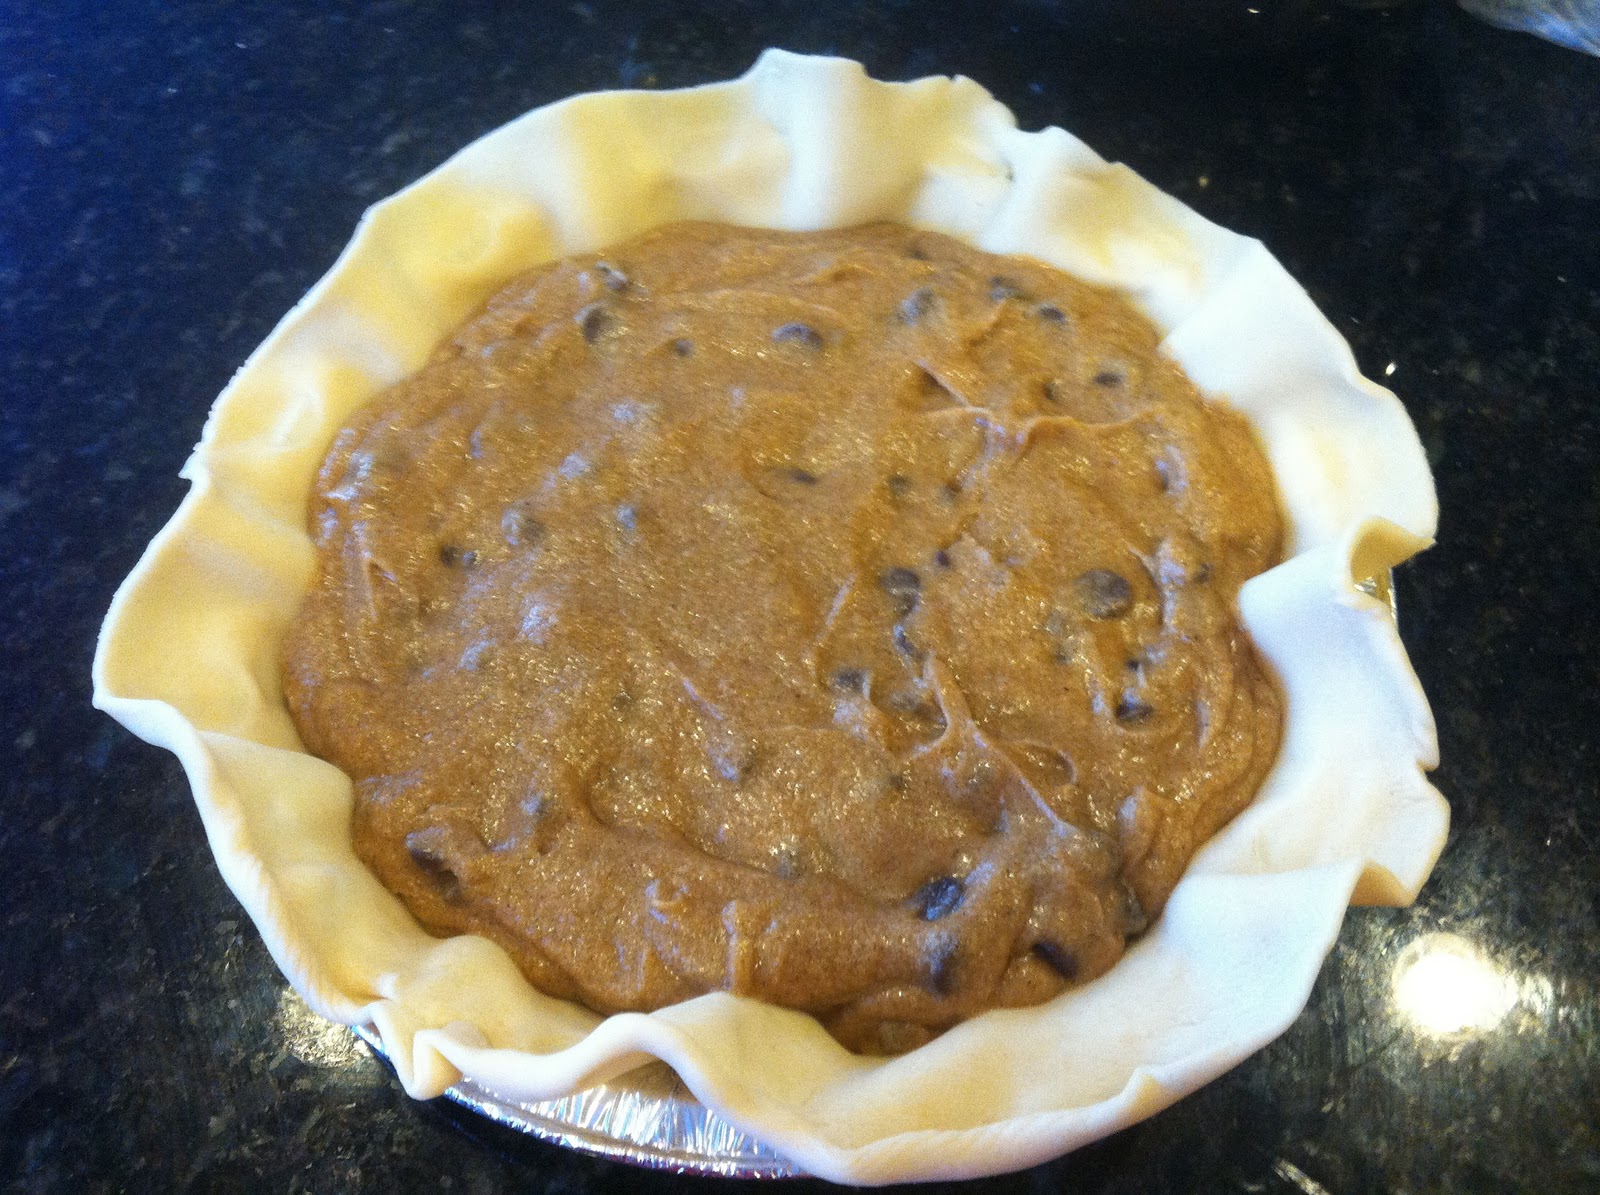
Of course with all the hustle and bustle of the holiday I forgot to take a picture of the finished product!!  So here is a picture as it went in the oven.  Yum!


Shared With:

Tuesday, November 22, 2011

Hudson's Birthday Snake Cake!


My friend's son, Hudson, wanted a snake cake for his birthday.  His request?  That it be blue and orange and the insides be red like blood.  Sounds fun!  Although I was a little nervous.  I bake for myself and family but never for anyone else.  This is so important - HUDSON'S BIRTHDAY CAKE.  Take a deep breath!!!

I started by baking two vanilla bundt cakes.  I used a whole bottle of red gel food coloring and the cakes still weren't as red as I would have liked.  But red enough, next time I will get more food coloring!  I used a cake tester to make sure the cakes were done.  When the tester comes out clean the cake is done.


Then I  cut the cake into halfs and carved out the snake head and tail using a serrated knife.


I frosted the snake in buttercream frosting.  I "glued" the pieces of snake together with buttercream and also put buttercream on the bottom of the snake so he would stick to the cake board.  I wanted to make sure he didn't move! 


I used a tip #10 to pipe dots all over the snake.  Once the buttercream hardened I used my finger to smooth the dots and give it a more scale like look.  Two yellow M&Ms for the eyes.  I used an Americolor edible pen to draw in pupils.  His tongue was a piece of red licorice carved by my husband!  Our snake made it to the party in once piece and I think he was a big hit!


Shared With:

Saturday, November 19, 2011

Turtle Bark

Pin It


My obsession with Bark continues.  I think what I love about it most is that it is so easy to make.  The hardest part is waiting for it to chill before you eat it.  I joined Danielle's at Hugs and Cookies XOXO Weekly Bake Along which you can find on her Facebook page.  This week the Bake Along was Caramel Pecan Bark - or Turtle Bark.  Yummy - I had to join!

I know the first time I made bark I used dark chocolate and decided I preferred milk chocolate.  But this recipe calls for dark chocolate so I gave it one more try - I am glad I did.  It is so delicious!

I prepared my 8x8 pan by lining it with parchment paper so the bark wouldn't stick to it.  I melted my dark chocolate chips in a double boiler and spread half of it in the pan.  Chilled it for 5 minutes and ready for the next layer which is caramel and pecans.  Is your mouth watering yet?

I didn't toast my pecans as the recipe says to do.  I love pecans the way they are and so I left them that way.  Now on to the caramel.  I was a little intimidated.  I have never made caramel or any candy and I had heard it was hard.  You must get it to a specific temperature - right?  I don't even own a candy thermometer (yet!).  But the recipe (see bottom of the post) sounded like something I could do - so what the heck!  This is an experiment you know :)

I put the sugar and water in a saucepan over medium heat and I was off.  It was a lot easier than I thought and when I was done I really did have caramel!  Much to my own amazement, not that hard!!

I don't know why the picture is sideways!!  If you know why it is doing this let me know!!


I took the bark out of the fridge, added a layer of caramel and pecans and put it back in the fridge.  One more layer of chocolate, then more caramel and pecans and voila!  You are done.  I did chill it after the final layer for quite awhile - say 30 minutes.  Which is an eternity when you are waiting to try it.  I loved it, in fact I am eating it right now :)


Turtle Bark - Recipe by Hugs and Cookies XOXO (slightly modified)

-16 oz dark chocolate chips
-1/2 cup plus 2 tablespoons pecans (separated)

Caramel Filling:
- 1/2 cup sugar
- 2 tablespoons water
- 1 tablespoon butter
- 5 tablespoons heavy cream

1. Line an 8x8 pan with parchment paper.

2.  For the Caramel Filling (You can do this!):
Put sugar and water into a saucepan over medium low heat stirring until sugar is dissolved.  Increase heat to high using the handle of the pot to give the pot a swirl to keep the mixture moving.  Do not stir directly at this point.  The mixture will start to bubble when it turns medium amber in color (approximately 5-7 minutes), add the butter and heavy cream to the saucepan.  The mixture will bubble a lot!!  Whisk to combine.  Set aside and cool completely.  Reserve 2 tablespoons for topping.

3.  Pour half of the melted chocolate into your pan and smooth.  Place pan in refrigerator for at least 5 minutes. 

4.  Remove from refrigerator and pour all of caramel except 2 tablespoons into pan.  Gently sprinkle 1/2 cup of pecans onto the caramel and press into caramel lightly with your hand.  Place in refrigerator for 7-10 minutes. 

5.  Pour remaining chocolate on top and refrigerate for 20 minutes so the bark can set.

6.  When bark is set sprinkle top with 2 tablespoons of pecans.  Place your remaining 2 tablespoons of caramel in plastic sandwich bag.  Cut small corner of bag off and drizzle caramel over pecans.  Enjoy!!!


Shared With:

Wednesday, November 16, 2011

Fall Cookies


I have really been wanting to try decorating cookies with royal icing for a long time.  I have seen so many absolutely beautiful cookies - works of art, that I probably couldn't eat and I wanted part of it.  So I started off - somewhat optomistic.  How hard could it be right?  Well the process was harder than I thought and I had to keep reminding myself of one of my favorite quotes:

 "If you're not failing, you're not trying hard enough." 

Not sure who said it, but I love it.  So I kept repeating that qoute in my head and referencing the amazing blogs that give instructions on how to decorate with royal icing.

So much to tell you...............

The Cookies.  I used a sugar cookie recipe I found on Sweetopia's blog.  I made the dough, refrigerated it and then got it out of the fridge to cut my shapes.  The dough warms up very quickly and becomes very sticky.  So sticky that I couldn't work with it and had to put it back into the fridge to try again later.  I didn't like this - it is not what I am used to.  The dough I grew up using wasn't sticky.  But I had my dough so after many trips to the fridge and back my cookies were done.  The cookies tasted excellent and I think with more time this dough could have worked better, but next time I might try a different recipe.

The Icing.  I used a royal icing recipe I found on The Sweet Adventures of Sugarbelle's blog.  I liked the recipe.  Easy to make, thin out and color.  I used disposable decorating bags and closed them with bands at the top.   I had a wet paper towel at the bottom of a glass I was keeping the decorating bag in to help the icing not dry out.  But I did run to the store and buy caps to cover the decorating tip to keep the icing from drying out.  It was easier for me than using the glass.


I outlined my cookies first.  I used a number 2 tip and then let the icing set for at least 15 minutes.  Then I used the same tip to flood my cookies or fill the outline with icing.  I liked using the same tip for both because it is easy!

I wanted the leaves to have more of a fall look so as soon as I flooded them with icing I put brown icing on top of the red or orange.  Then I used a toothpick to drag lines thru the icing to give it more of a fall look.  These cookies were inspired by Lizy B's Fall Cookies.  I loved the look of hers, although she used two shades of brown I only used one.  I was trying to keep it relatively uncomplicated for myself!


I like my final results although I am not sure they are "artwork"!  I did pick up some important tips to remember for next time - which for me will probably be Christmas cookies!

Tips:

1.  Buy multiple tips so you don't have to keep washing them when you want to change colors.  I bought three number 2 tips!
2.  The tip closers are a life saver because you don't have to keep the wet paper towel at the bottom of your glass.
3.  If you are just starting to decorate cookies with royal icing like me, start with only a few shapes of cookie and only a few colors of icing.  It gets crazy quickly.  I had also done moose and truck cookies.  But those didn't turn out so great! 

Hope you enjoy the cookies!!  Most importantly they were yummy!!


Shared with:

Tuesday, November 8, 2011

Blue Flower Cake


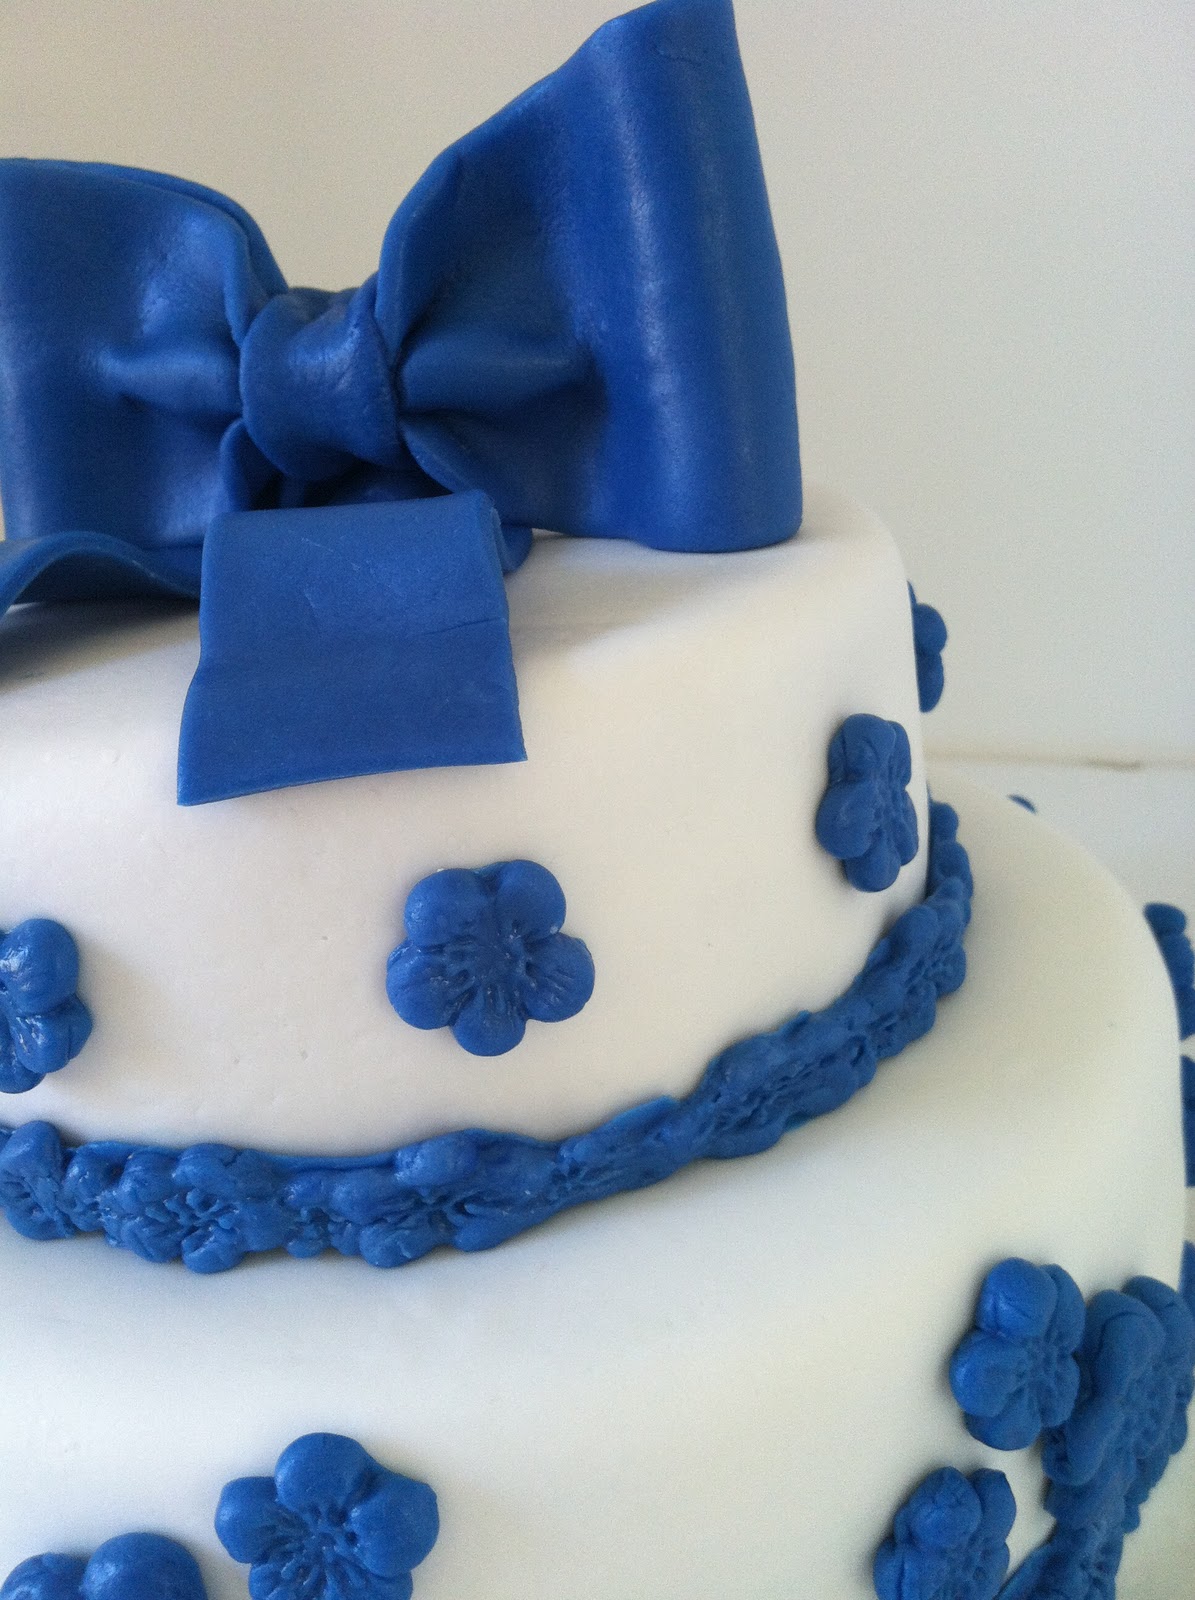
Everyone keeps asking me why?  Why did you make this cake?  What is the occasion?  Well my answer dissapoints!  There is no reason why, no occasion.  I just really wanted to try my hand at a tiered cake - something I have never done before.  So I decided to make a two tier fondant cake with fondant decorations. 

I started by making two batches of  marshmallow fondant.  I made an eight inch chocolate cake from scratch and a six inch vanilla Duncan Hines cake.  Originally I wanted this entire cake to be from scratch but at 11pm Saturday night I decided I didn't like my vanilla cake recipe and grabbed the good old Duncan Hines.  I feel a little guilty about that - but not that much.  Duncan Hines is good cake and everyone likes it - so what the heck!  As soon as the cakes were cooled I did a crumb coat of frosting.  Then onto the fondant.

I dusted my counter with powdered sugar and rolled out my white fondant.  I bought dusting pouches at Michael's and I think they are totally worth it.  I used a lot less powdered sugar for dusting than I would have if I didn't have the pouch - a lot less mess too!  I rolled out a HUGE piece of fondant.  I was worried it wouldn't be big enough to cover the cake.


As you can see I had way more than enough!  I think to get better at working with fondant it really is a lot of practice.  Next time I won't roll out quite as much!!  After both tiers of the cake were covered in fondant I needed to put support in the bottom tier to hold up the top tier.  I used colored straws.  They are cheaper than wooden dowels, I think easier to work with, and you can really see them in the cake so no accidental eating.  I put one straw in the cake, measured and cut it and then used it to measure the other straws.  Then stacked the cakes.


Now to decorate!  I wasn't worried that you could see the seam between the two layers because I knew I was going to put a fondant border there.  I used the Wilton Nature Fondant Mold to mold my fondant.  It was a lot easier to use than I thought.  I made sure to dust with powdered sugar before I put my fondant in and then just pulled out the fondant.


I brushed the back of the molded fondant with a little bit of water and then stuck them to the cake.  For a cake topper I decided I wanted a fondant bow.  I found a great tutorial on youtube by the Royal Bakery.  She gave such great instruction.  Of course my computer is in the office - so I started the video watched the first step hit pause, ran to the kitchen did first step, run to office......and so on until I was done.  (Hoping to burn some calories so I can eat more cake!)


I attached the bow to the cake - really by just balancing it on top.  I used wooden spoons to balance it on the top of the cake and pushed it in a little.  It seemed to be ok.  So now I have this completed cake and what do I do with it?  I invited some neighbors over for cake!  Better than eating it myself which is what might happen if it stayed here :).

This was definately a learning experience.  But I really enjoyed it!  It did take a lot of time and next time I know I would be a little smarter on how I scheduled all of the steps.  Maybe get a babysitter for the whole weekend :)  Here are some more pictures - hope you enjoy!


Join me for a  Tea Party!  I shared this cake on Sweetology's blog.  Go check it out - her cupcakes are amazing!